4. Four Methods of Commercial Cultivation
This section focuses on describing four different methods of commercial cultivation that are accessible and easy to implement for beginning and diversified farms. Consider which of these methods, or a combination thereof,
will work best given your setup, experience, time, and resources.
-
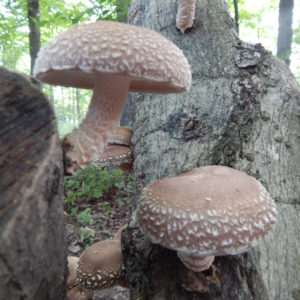
Shiitake mushrooms grow on a log on a New York State farm.
Steve Gabriel / Cornell Small Farms ProgramShiitake on Logs
Research at Cornell over the past twenty years determined that in addition to
the above methods utilizing straw or supplemented sawdust/fuel pellets, there
was one outdoor log-based system that could prove profitable. While several
species can be grown on logs and stumps, the shiitake offers an advantage
from a commercial perspective because the logs can be soaked or “shocked”
each week from May/June - October outdoors to create a flush of mushrooms.
Data collection has indicated that the materials and labor to inoculate one log is
around $4.74, and a good log can yield 4 - 5 lbs over three seasons, grossing
anywhere from $40 to $80. There are several nuances and considerations for this method, and those interested are encouraged to consult the free guidebook Best Management Practices for Log-Based Shiitake Cultivation.
2. Oysters on Straw
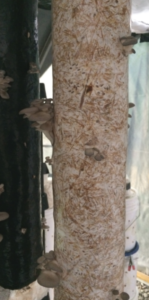
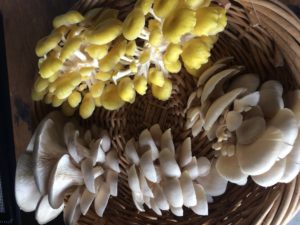
Oyster mushrooms are a common commercial crop. Steve Gabriel / Small Farms Program
In addition to straw, growers can experiment with a wide range of materials as a substrate such as stalks from crops, invasive plants, etc. so long as they are harvested and dried before use. Consideration should be taken around the labor efficiency of harvesting, drying, and storing materials. This is why most growers looking for commercial yields choose straw, as it is commonly available and baled in compressed 40lb bales (or larger) that can be stored easily. There are several different ways to treat the straw substrate for mushroom production.
3. Substrate Treatment
The first step in treatment is to shred the straw or material to break down the fibers and expose more surface area. This allows the mycelium to better move through the material as it doesn’t have to work as hard to “jump” as far from one fiber to the next. Yields can substantially increase when material is shredded prior to cleaning the substrate and inoculation.
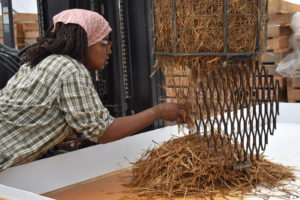
Straw is prepped. Amy Wu / Hudson Valley Farm Hub
Various tools and methods can be used for shredding, but the easiest is an electric or gas powered shredder that can efficiently process the materials. These units can cost $500 - 1000, but many growers consider this a worthwhile investment in the long term. Materials can also be placed in a drum and shredded with a weed whacker, or laid on the ground on a tarp and run over with a lawn mower. While these methods are less efficient, often these tools are already on hand or can be acquired for less cost, and they will get the job done. Pre shredded bales of straw can also be found in hardware stores or online.
After shredding the material, there are several options for cleaning the straw. Since straw is a high carbon, low nutrient substrate, it allows for lower intensity treatments that can essentially be done outdoors, without sterile spaces.
Treatment Methods
There are three methods generally recommended for treating straw prior to inoculation. Each has its own considerations for time, cost, and available materials:
Cold Fermentation
While this method is the lowest tech, it’s also very stinky! Straw is soaked in water for as little as 5 and as many as 10 days, which essentially cultivates anaerobic bacteria and thus “cleans” the straw for the oysters. The time it takes depends on ambient temperature. During cooler months, expect longer times and during hot months, a much quicker process time. Since all that is needed is water and a container (e.g. a 5 gallon bucket or 55 gallon drum), this is by far the simplest and cheapest method. After soaking, drain the straw and then you are ready to inoculate! Contamination rates for this method are high and this is not recommended for a commercial method of production.
Lime “Pasteurization”
The concept with using lime is to quickly spike the pH of the straw to 12 or 13, killing most competitors, and then inoculate the substrate with oyster mycelium. The key is to use not just any lime, but specifically hydrated lime with a magnesium content (Mg) of LESS THAN 10%. This detail is critical to success. One brand that is available online is Hi-Yield lime, when buying lime always be sure to check the guaranteed analysis to ensure magnesium is below 10%.
Generally, a 50 lb bag costs around $10 - $15 and will be sufficient to “pasteurize” several hundred pounds of straw. A starting point is to add .35 to .5 lbs per gallon of water, but because of the wide range of compositions in lime its necessary to test the solution with pH test strips to determine the proper amount. Soak the straw for 16 - 18 hours in this solution - no longer!
After soaking, drain the straw and then you are ready to inoculate. It’s important to consider an appropriate disposal method for the wastewater, which has a high pH and would be considered toxic. Always wear gloves when handling the straw or water, and use an acid-heavy liquid like “pH balance” or “pH down” (available from hydroponic suppliers) to neutralize the water before dumping.
It should be noted that some people report success using wood ash instead of hydrated lime, but you need to add A LOT of this to get the pH to change, and this method may not prove to be commercially viable for operations.
Hot Pasteurization
The most “complex” method is still rather simple, requiring a metal container (a 55 gallon drum is most common) and a heat source (e.g. propane turkey burner, wood fire, or on-demand hot water heater). The goal is to keep the substrate at 140-160 F for at least two hours to pasteurize. The most efficient way to do this is to heat the water and straw to 180 F, shut off the heat source, and put a lid on. This will cool over time but should keep the material in the proper range for 2 hours. You can experiment with timing as some have reported getting clean straw after as little as 1 hour in this manner.
After the straw has been “cooked”, it should be drained and spread out on a cleanable surface (table, clean tarp used only for this purpose, etc), and spread with a clean tool (used only for this purpose) to cool as quickly as possible. Once the straw is able to be handled, or drops below 100 F, it is ready for inoculation. An infrared laser thermometer is helpful to maintain an accurate measure.
Inoculating and Packing
Regardless of the treatment method, the material will next be packed along with oyster spawn into bags or containers. Five gallon buckets with ⅝” holes drilled in a diamond pattern every 6 - 8” can work well and reduce waste on the farm, but need to be completely and thoroughly cleaned between uses to prevent contamination. 5lb or 10lb filter patch bags or bulk 10” plastic tubing rolls are also commonly used, but do result in waste from the process that must be disposed of.
No matter what container is used, what is most important is that the spawn is well distributed and the material is packed tight. Either grain or sawdust spawn can be used, with the grain offering a little extra nutrition, which can increase growth rates. There are generally two methods of adding spawn; one is to pour a bag and mix evenly, the other is to layer a handful of spawn every 3 - 4” as you pack the container or bag. Growers tend to develop a preference for one over the other, over time.
Check out Fungi Ally’s guidebook on oyster mushroom cultivation for more information on this method.
4a. Supplemented Sawdust Blocks — Indoors
Indoor mushroom production on supplemented sawdust blocks (referred to in this section as “blocks”) is the largest scale method for specialty mushroom production. This method allows for fast cropping cycles with high yields. Indoor block production allows for precise environmental controls and year round production. This method also means that management of the crop intensifies, and costs like rent, infrastructure, and materials increase. If a farm is being developed as a large scale mushroom farm, it makes sense to produce mushrooms using this method.
Indoor fruiting typically means creating a fruiting environment inside of another building or existing structure. Basements of houses, barns, trailers, and warehouses are all viable options for indoor fruiting. One major advantage of indoor fruiting is the flow of production. A farm can be designed to include handling/treatment, lab, incubation, fruiting, storage and shipping areas all in a single flowing building. On a large scale, above 300 pounds per week, this becomes critical; on small scales little inefficiencies can be annoying but won’t make or break the operation.
4b. Supplemented Sawdust Blocks — Outdoors
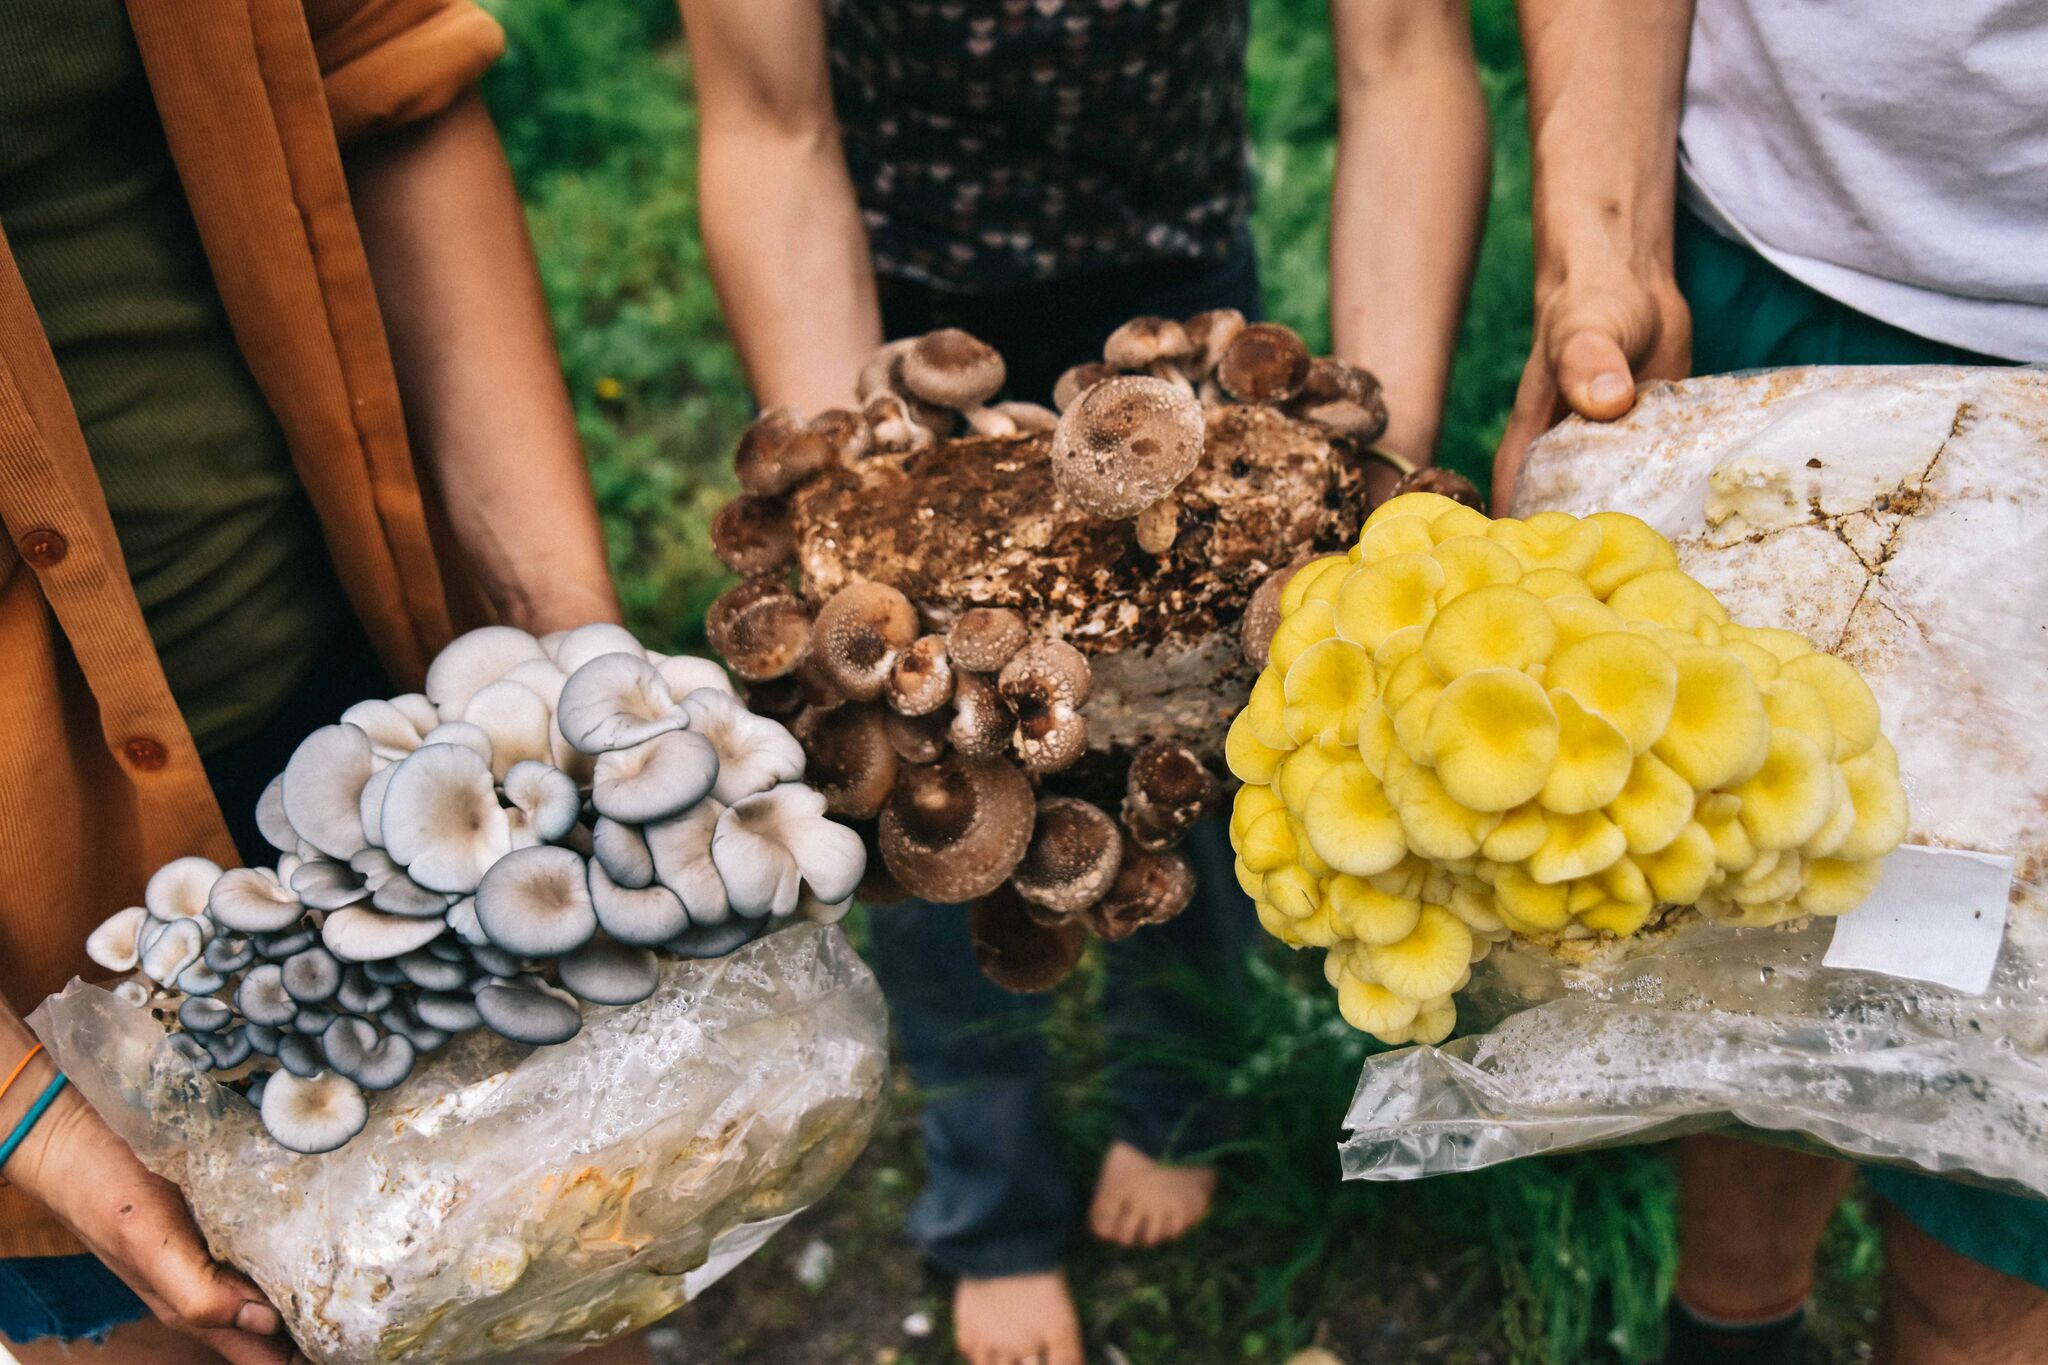
Outdoor fruiting on supplemented sawdust blocks is one of the easiest methods to start cultivating mushrooms. Very little infrastructure or space is needed to successfully grow mushrooms outdoors. Several different species including shiitake, lions mane, chestnut, and pioppino can easily be fruited from blocks outside. Since these blocks are ready to fruit, they can be predictably grown outdoors from April-November in northern climates.
Note: It is not recommended to grow oyster mushrooms in this fashion as they get larvae in them when grown outside.
Depending on how the sawdust blocks are procured and what method of shocking is used, the outdoor fruiting area will look a little different. This process can be as easy as putting blocks in the woods and letting them fruit. Find a nice canopy of either deciduous or evergreens and clear away the dead organic material on the ground. Place the blocks directly on the soil with sufficient space between them to allow fruiting and mist 2-3 times per day for the first four days. One issue that can come up is that the mushrooms fruiting at the bottom of the blocks can get a little dirty. To prevent this, simply place pallets down in the woods to lift the blocks out of the soil, so the mushrooms will stay clean even if it rains. A single 4’x4’ pallet can hold about fifteen 5lb blocks.
To create the optimal conditions, particularly to increase humidity during the pinning process, install a low tunnel consisting of plastic or metal hoops and greenhouse plastic above the pallets. This allows the moisture to be held in and supports good mushroom pinning. Spraying with a hose once a day for the first 5 days of mushroom formation will create beautiful pin sets. If you are soaking blocks, particularly 2nd flush blocks, green mold can become abundant if the exterior of the blocks are not allowed to dry before placing the plastic on the low tunnel. After soaking, allow the blocks to dry out for 12-24 hours and then place the plastic over the low tunnel.
With 2nd flush blocks, sometimes it is easier to not manage them, but to let them fruit when the rains decide. Simply spread the blocks out on the forest floor and wait for the rain. If you wanted to try and force the blocks to fruit, you could run a sprinkler for 24 hours after they have sat for 3 weeks. Blocks that are fruiting for the 2nd and 3rd time produce beautiful mushrooms outdoors in the natural environment particularly in April/May and Sept/Oct during the cooler temperatures. Even if indoor block production is the focus, a significant amount of mushrooms can be harvested from “spent” blocks outdoors, if they are visited after heavy rains.

There are three options you can explore to procure sawdust blocks:
- Create a lab and produce the blocks in-house. This does require a considerable amount of space, up front cost, and training.
- Purchase the blocks new from another company or local mushroom farm. Take the lab work out of it and start by buying the blocks in. A walk-in cooler and cash flow of about $7,000 is needed for growing about 150 pounds per week.
- Purchase second-flush blocks from a local mushroom farm, instead of new blocks, which typically cost between $5-7.50; second flush blocks can be sold by the truckload or $1/block. Yields will be much lower and sporadic, but if cash flow is an issue this is a great way to start out growing mushrooms. Additionally, over the course of a year these blocks will turn into incredible soil, so there is both an investment in the mushrooms as well as building organic matter and soil life on the farm.
What's Next?
As you develop a concept for your mushroom-growing enterprise, there are several important questions to help you narrow down all the options available. These include:
-
Willie Crosby / Fungi Ally
What is the mission of my farm, and what goals and strategies will help me realize this mission?
- What substrates and methods are best suited for my farm?
- What steps in the process will I produce in-house, versus outsource?
- How much infrastructure do I have/want to invest in building?
- What are my goals for yields?
- How many hours of labor per week do I want to devote to mushroom growing?
One recommendation is to start small, gain first-hand experience, and try different methods before overcommitting time, energy, and resources to what you think or envision you might want. As with any farming enterprise, the more you can articulate your mission and goals, plan out finances, and develop markets ahead of time, the better positioned you are for success. Mushrooms offer a unique opportunity to produce a high value crop with growing interest. Buying in ready-to-fruit blocks or growing oyster on straw can allow you to explore and develop a potential market without committing too much money or time.

