Inoculating Logs
In log-based cultivation, the spawn consists of a mixture of vegetative mycelium (fungal strands called hyphae, NOT spores), sawdust and a little grain to form a substrate (nutrient source). The shiitake mycelium feed on newly dead hardwood; they can be introduced to the log through either the dowel or sawdust inoculation methods.
When to Inoculate
Bolts should be inoculated anytime between one day and three weeks after the tree is felled - sooner is better (see the figure below). Research at Cornell’s Arnot Forest has shown that winter and spring inoculations are ideal; however, summer and fall inoculations also produce sizable harvests.
Logs can be inoculated immediately after they are felled; there is no need to “cure” the log for a few weeks. Do not wait longer than three weeks to inoculate; the longer you wait, the more likely the log is to be infested with competitive fungi and/or dry out. The one exception is trees felled during winter; these may be stored for longer period of time in preparation of an early spring inoculation. When storing logs for any length of time, be sure not to store bolts in the sun in order to minimize log drying. Clean snow can be used, wherever possible, to keep logs covered.
RESEARCH: Timing Log Inoculation
Try to inoculate your logs as soon as possible after felling the trees. Research shows that the less days that elapse from felling until bolt inoculation, the greater the production per log.
EXPERT TIPS & TRICKS: Soliciting Volunteer Help
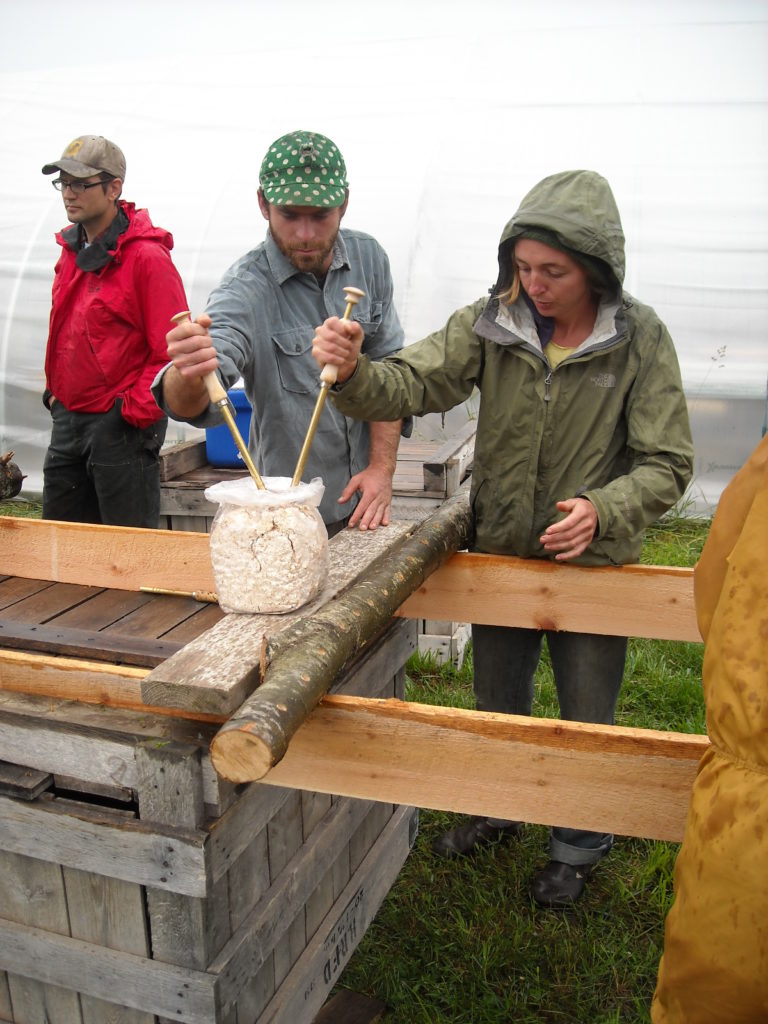
Many of the required tasks, particularly bolt inoculation, can be quite tedious. Many growers choose to solicit help from volunteers and friends in order to get the job done. Some organizations or privately sponsored entities charge a small fee for an inoculation event (workshop). The following are some tips to help to achieve a high volunteer turnout:
- Advertise the event as an informal class in shiitake mushroom production. Teach your volunteers enough to begin their own small operation.
- Turn the day into a party. Play music, provide refreshments, and be merry.
- Offer a free meal.
- Offer a shiitake taste-testing.
- In appreciation for their help, send each participant home with a shiitake log that they have inoculated themselves. they should be able to fruit the log in their backyard.
EXPERT OPINION: Inoculation Methods
“Sawdust spawn allows the inoculator to work faster than with a dowel and hammer. Also, I believe that sawdust spawn leaves less room for contamination because the spawn is not touched by your hands.”
- Nick Laskovski, Dana Forest Farm
EXPERT OPINION: Strain Choice
“Most growers in cooler climates tend to use Wide Range strains in the majority of their logs. I recommend that people always start here and then branch out into the WW and CW strains.”
- Steve Gabriel, Wellspring Forest Farm, Mecklenburg NY
EXPERT TIPS: Cold Weather Strains
“I’ve been using the cold weather strain Snowcap for several years (from Field and Forest), and have been harvesting them for more than two weeks (they started pinning in early April) - with no cover. They sailed right through the last cold snap (low-20s, daytime temps not much above freezing) and are coming on strong now.
“I am shocking 20 logs per week of those that didn’t ‘wake up’ naturally, and they are also pinning happily now.
“For people in the North Country like me (20 miles from Canada/we get below-40-degree nights right into June, and again by late August), you might consider diversifying your strains.
“I highly recommend SNOW CAP, and also BOLSHOI BREEZE. Both can keep fruiting right into November - and tend to pick up when the WR and Warm-weather strains poop out.”
-Robert Wagner, North Woods Shiitake
Spawn Type
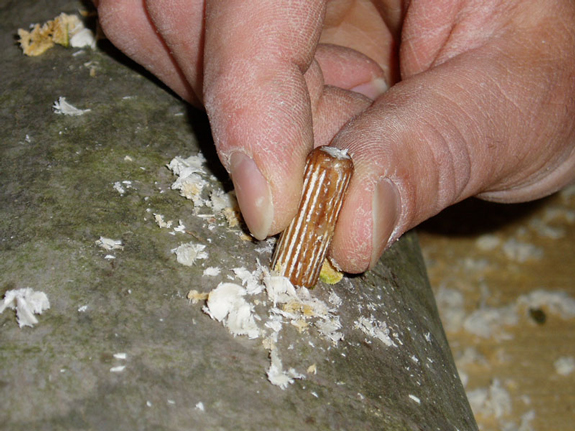
Bolts can be inoculated with sawdust spawn, plug spawn, or thumb spawn. There are advantages and disadvantages to each. Plug spawn is very simple to use—the only tool needed is a drill and hammer or mallet. The drawbacks are that plug spawn is slightly more expensive per log than sawdust spawn, the mycelium may take a while to migrate into the sapwood of the log, and the inoculation operation is significantly slower than the sawdust spawn method. Sawdust spawn is slightly cheaper than plug spawn, but it requires a special tool (inoculator), either purchased or homemade, to insert the sawdust into the hole. In addition to its lower cost, the mycelium contained in sawdust spawn moves out into the log more quickly, giving somewhat faster produc- tion. This guide specifically describes the sawdust spawn method, which is more common for commercial enterprises.
Choosing Spawn Strain
Mushroom supply catalogs describe strain categories that differ in the tem- perature range at which they fruit. Each category described below includes several strains (varieties) of spawn and each of these is a genetically unique clone. The differences between each strain temperature category are also summarized below. Generally speaking, we recommend trying a variety of different strains to see what works best under your specific conditions. By us- ing a combination of strains, many growers are able to maximize the length of their fruiting season.
People sometimes wonder if there is a taste difference between different strains. Although there isn’t data on the subject, commercial growers tend to find that cold weather strains produce shiitake with a more intense flavor. Try a few strains and see what you think. If you intend to try only one strain the first time around, we recommend a WR strain.
- Wide Range (WR) Strains: These are the favorite among both commercial growers and beginners. They are reliable. Fast spawn run and fruiting al- low a faster return on investment. WR strains can be force fruited easily and recover vigor more rapidly after fruiting.
- Warm Weather (WW) Strains: Warm Weather strains produce the highest quality mushrooms during the hot summer months and early fall. They respond well to soaking for commercial production, and tolerate warmer soak water than other strains. They are also often recommended for grow- ing Shiitakes on some of the softer hardwoods, such as red maple.
- Cold-Weather (CW) Strains: These tend to fruit in early spring and late fall. These strains require a longer spawn run than other stains. They won’t re- liably fruit after being forced, so most people let the natural rise and fall of wintry temperatures initiate fruiting. See side-bar for more information about cold weather strains.
Using Cold Weather Strains to Extend Season
Cold weather strains are well suited to the Northeast where the growing season is short and the time frame for fruiting wide range and warm weather Shiitake strains can be limited. Since cold weather strains fruit during the transition times from spring to summer and summer to fall, they can be used as a strategy for season extension. Even though cold weather strains do not respond well to shocking, Northeast-based growers with enough cold weather strain logs can supply late spring and fall markets when other mushroom growers can’t. Learn more about season extension using cold temperature strains on page 31.
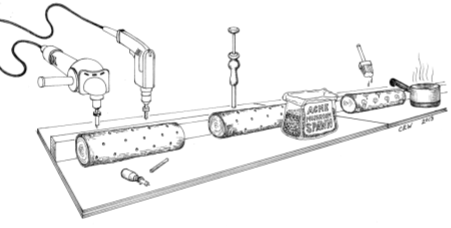
Log inoculation is a three step process. First a series of small holes are drilled into each log. Each hole is then tightly packed with spawn. Lastly, the surface of each hole is covered with wax to ensure optimal mycelium growing conditions and reduce contamination by other fungi species. Each step is described in detail on pages 20 through 22.
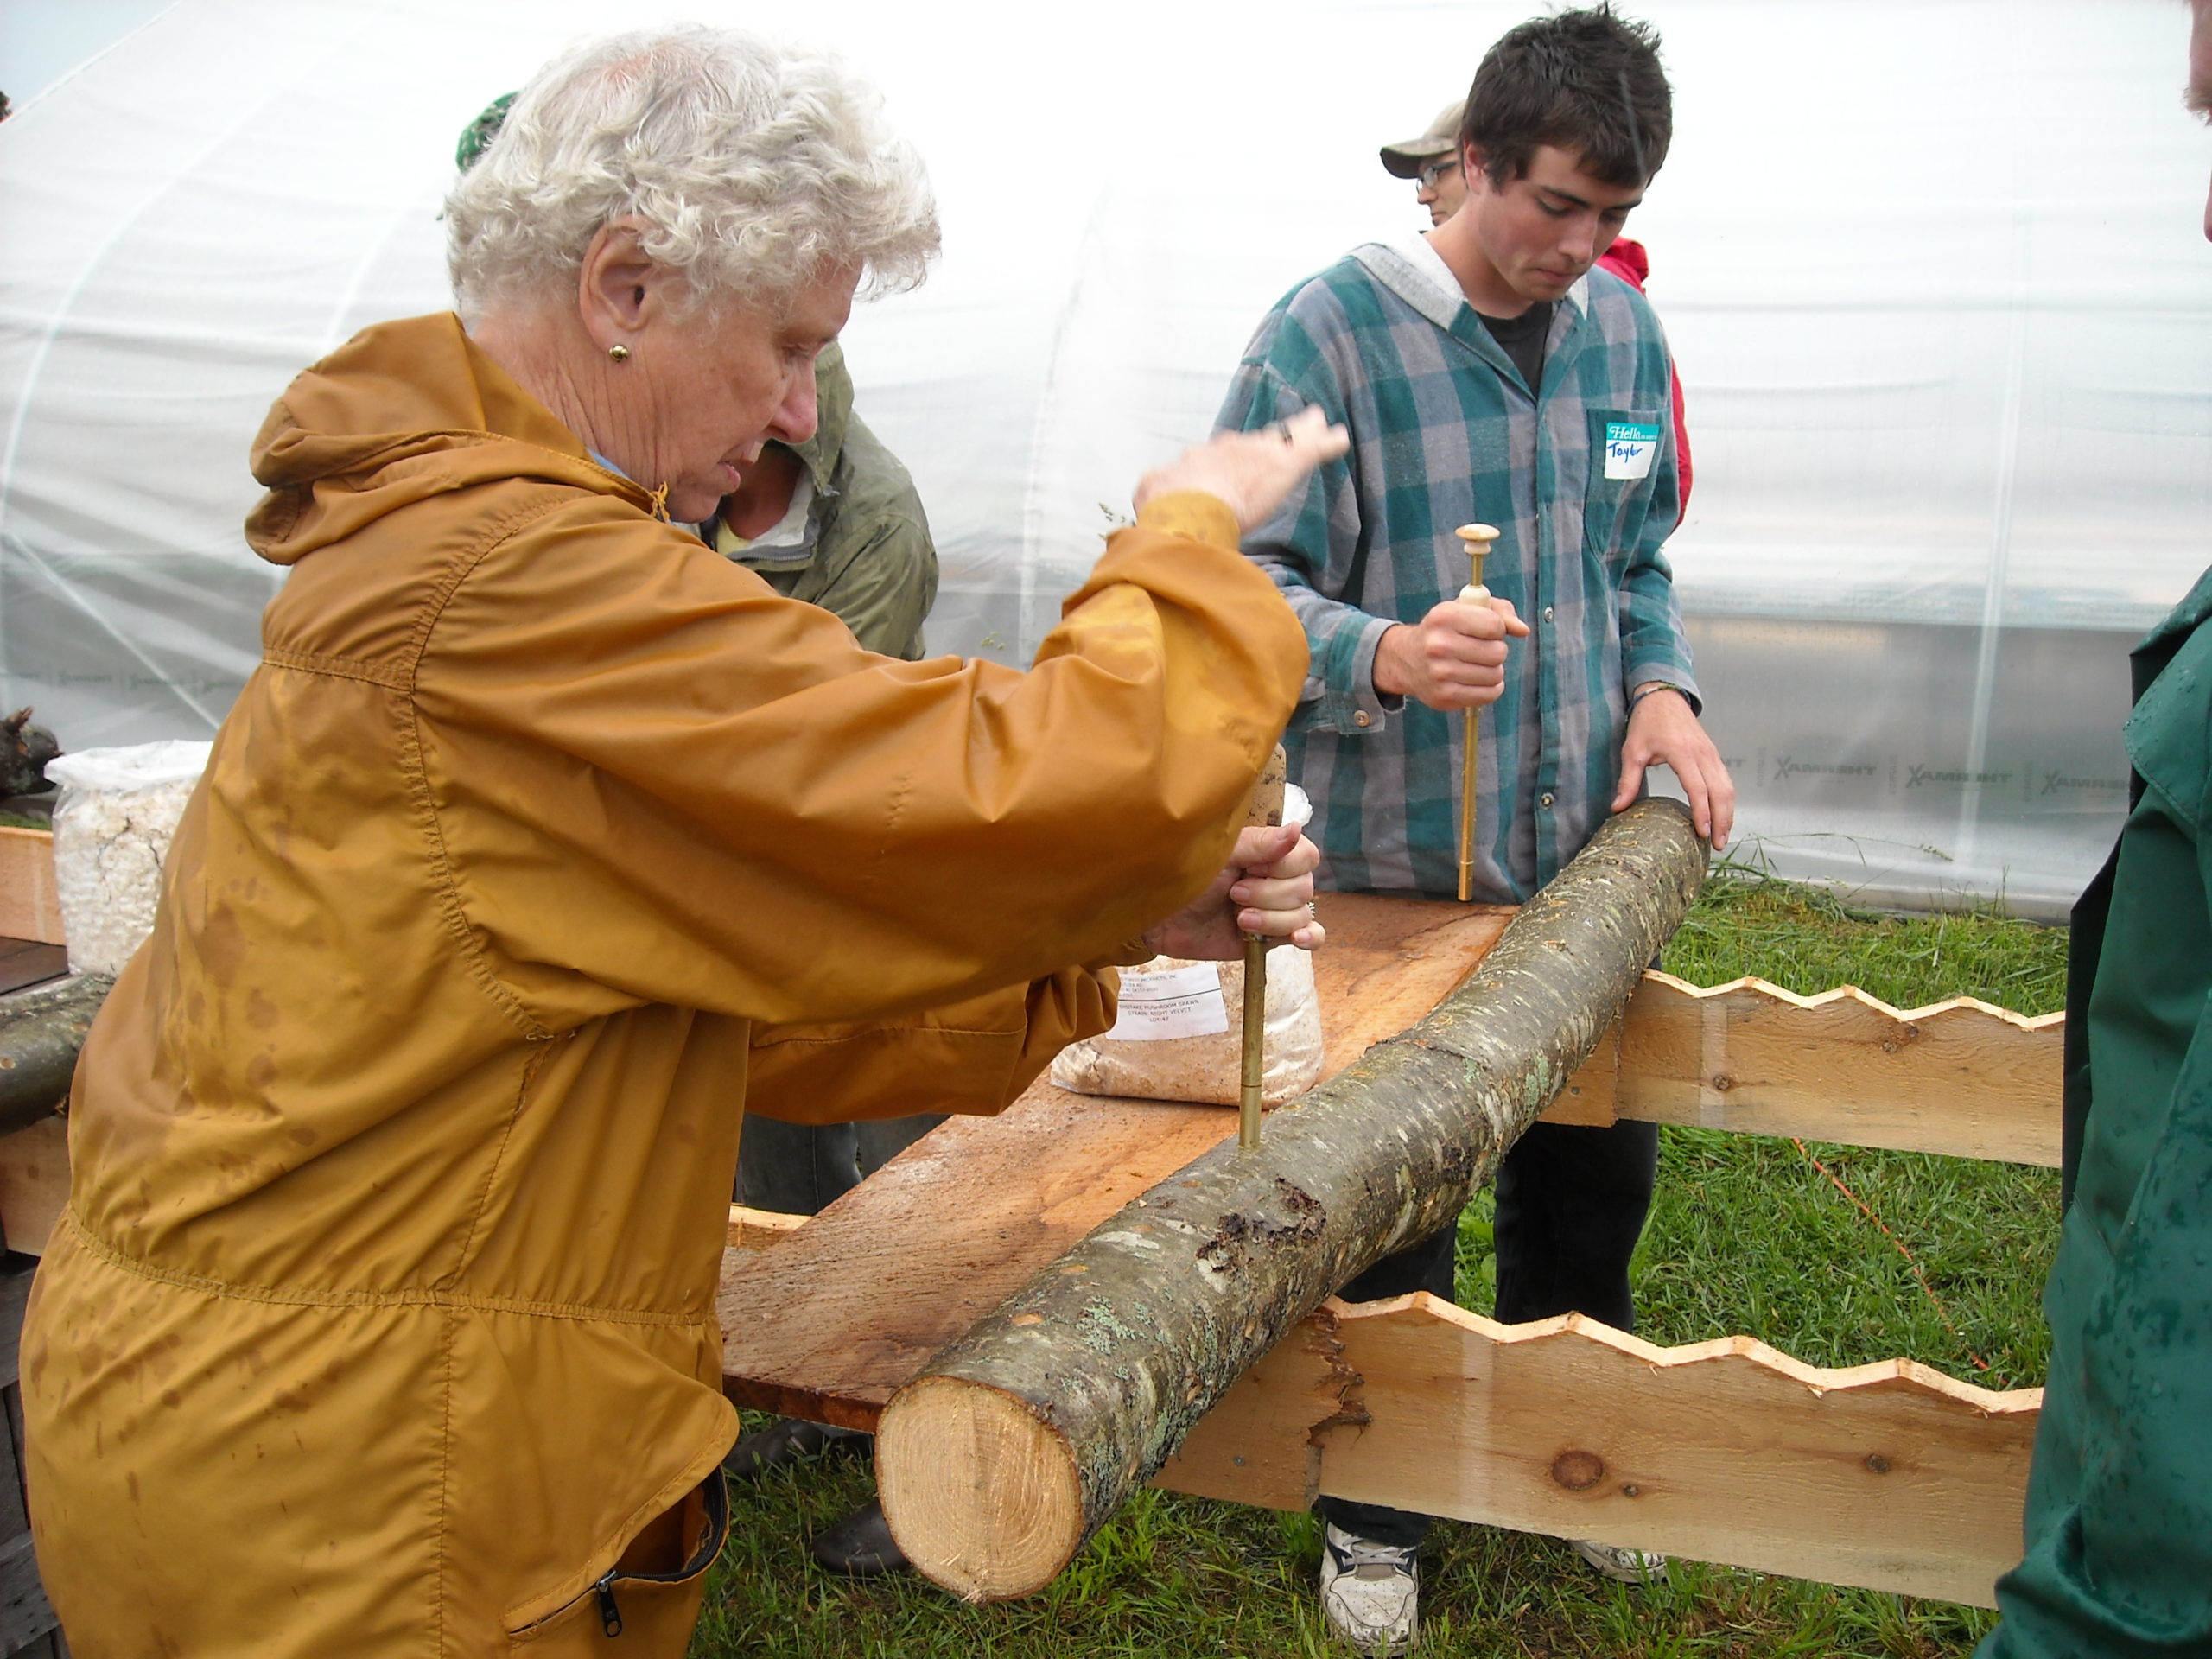
This process can be quite repetitive and time consuming; however, many growers have found innovative ways to speed it up. For example, you can solicit volunteer help by hosting an inoculation party or informal mushroom inoculation class; see page 17 for more details. You may also want to consider setting up a small assembly line. Building an inoculation table is a great way to save time and your back. Ideally, you will want a table that keeps the log from rolling over when you are working with it, but also makes it easy to move the log from one station to another. Some handmade inoculation tables are pictured below to offer inspiration.
Selecting Appropriate Spawn
Inoculating Procedure Using Sawdust Spawn
EXPERT TIP: DRILLING SAFETY
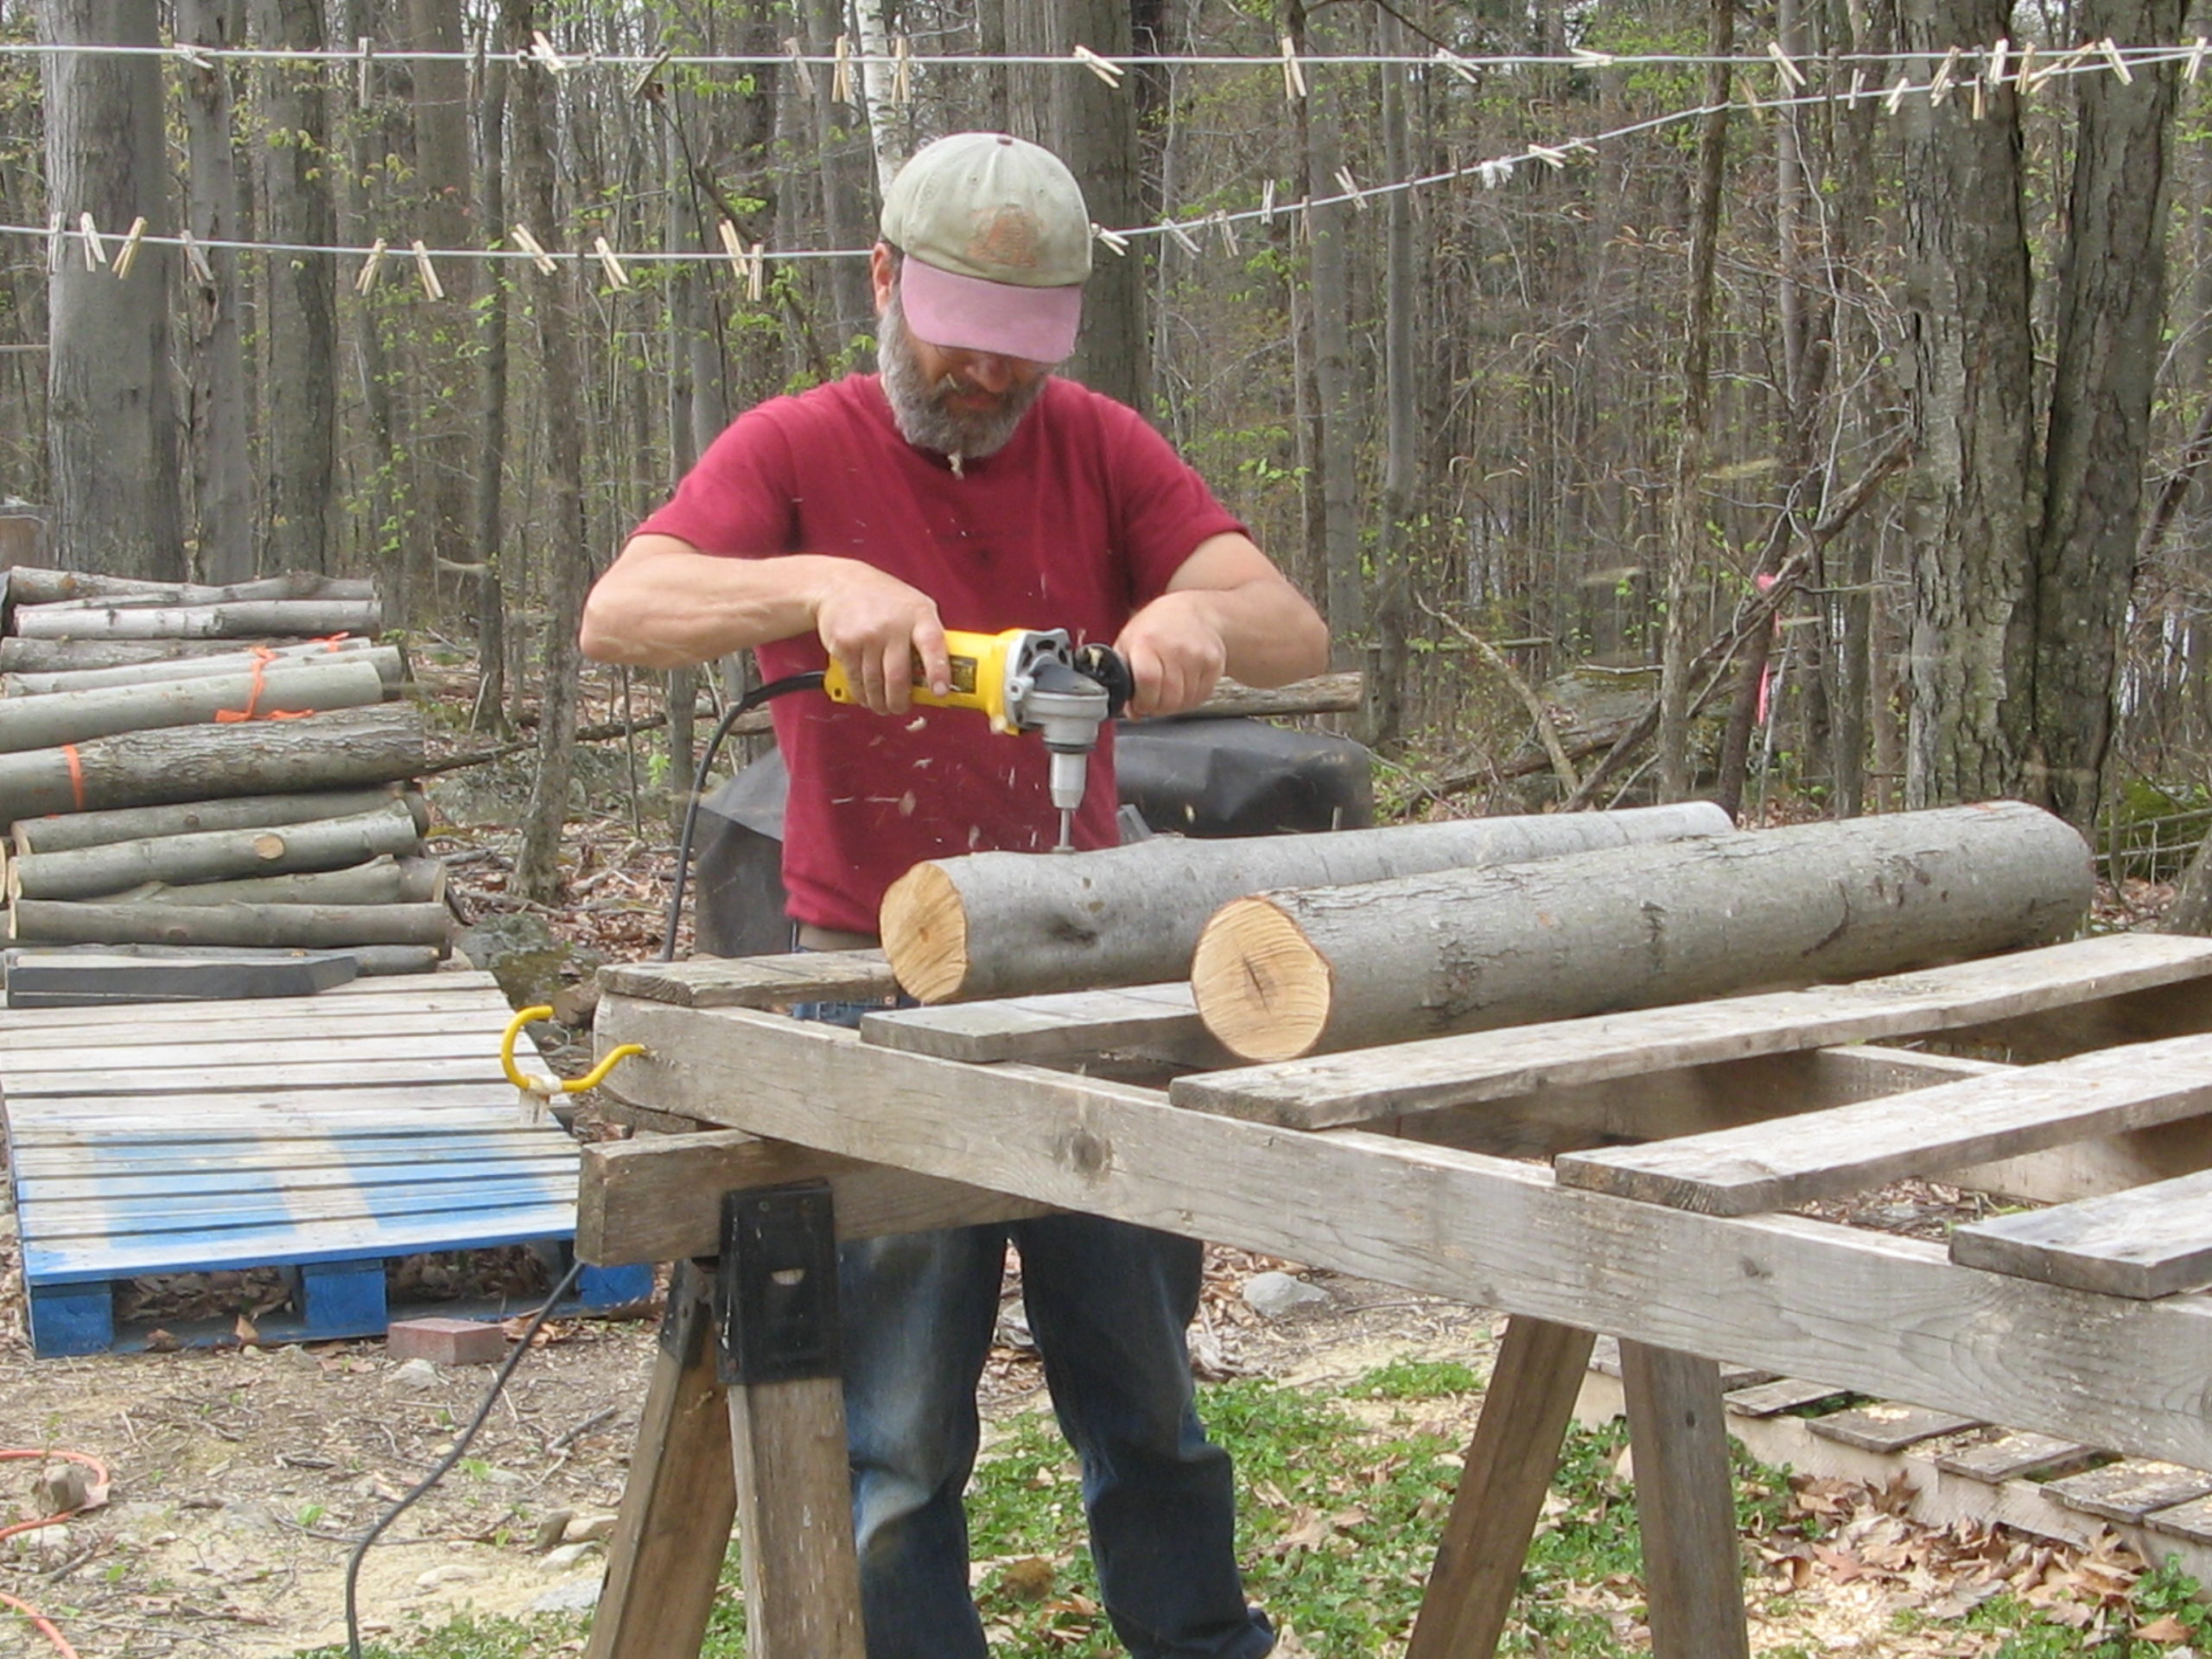
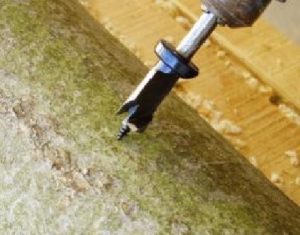
“If you are using an angle grinder to drill holes (highly recommend) for sawdust inoculation, purchase a bit specifically manufactured for high-speed drilling. Do not use a regular drill bit for a high-speed (10,000 rpm) angle grinder as these may shatter”.
- Ken Mudge, Cornell University
Step 1: Drill Holes in Bolt
You will need to drill a series of holes in each log, 7/16” diameter and 1.25” deep. This dimension matches the inoculator tool used to plug the holes with spawn. Start 1 inch from the end of the log, drill holes 3 inches apart in rows along the length of the log, with 3 to 4 inches between rows.
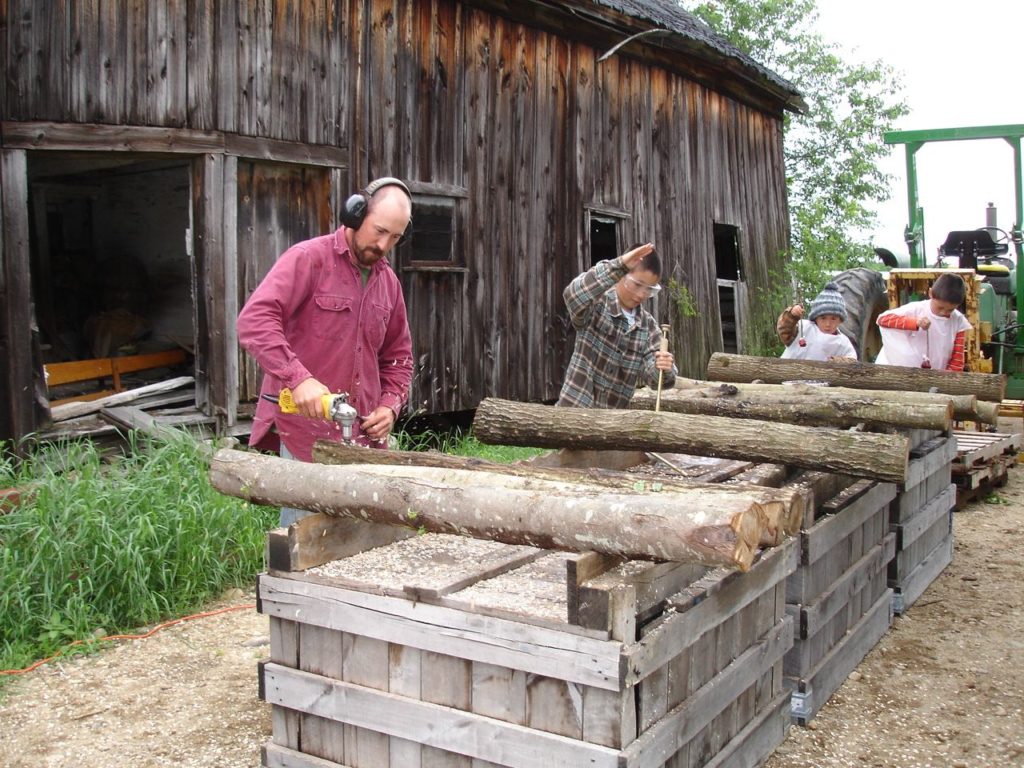
A general rule of thumb is to estimate the diameter of the log, and have as many rows of drill holes as there are inches of diameter; for example a log with a 6 inch diameter needs 6 rows. Plan for a minimum of 30 to 40 drill holes per log, depending on log diameter. The holes should be staggered in a diamond pattern to ensure rapid growth of the fungus throughout the log.
Closer spacing increases the rate of colonization and results in more rapid mushroom production; however, spawn costs are also greater. It is very common on bolts to have small areas of bare bark where bark was damaged or branches were cut off. Drill holes in these areas as well. Once inoculated and waxed over, the damaged or bare areas will be sealed, increasing chances for a thorough and successful spawn run.
EQUIPMENT AND TOOLS: REQUIREMENTS AND RECOMMENDATIONS
Although you can use an electric hand drill, if you are drilling more than 50 to 100 logs, we highly recommend using a mini angle grinder outfitted with an adaptor and high-speed drill bit. While equipping an angle grinder with a drill bit is expensive, it is possible to move very quickly with this tool, reducing the time spent per log. This is especially useful for larger operations.
Power Drill Method
(Not recommended for commercial enterprises)
- Power drill (~2500 rpm) ($30-$150)
- drill bit - 7/16” with depth stop ($12 - $15)
Angle Grinder Method
- Mini angle grinder (10,000 rpm) ($75-$170)
- Angle grinder adaptor ($35-$40)
- Angle grinder drill bit - 7/16” with depth stop ($13-$20)
EXPERT TIP: How much spawn to buy
Most growers estimate that one 5 pound bag of spawn will inoculate 20 to 25 logs (4-6” wide X 36” long).
Step 2: Inoculate the Bolts
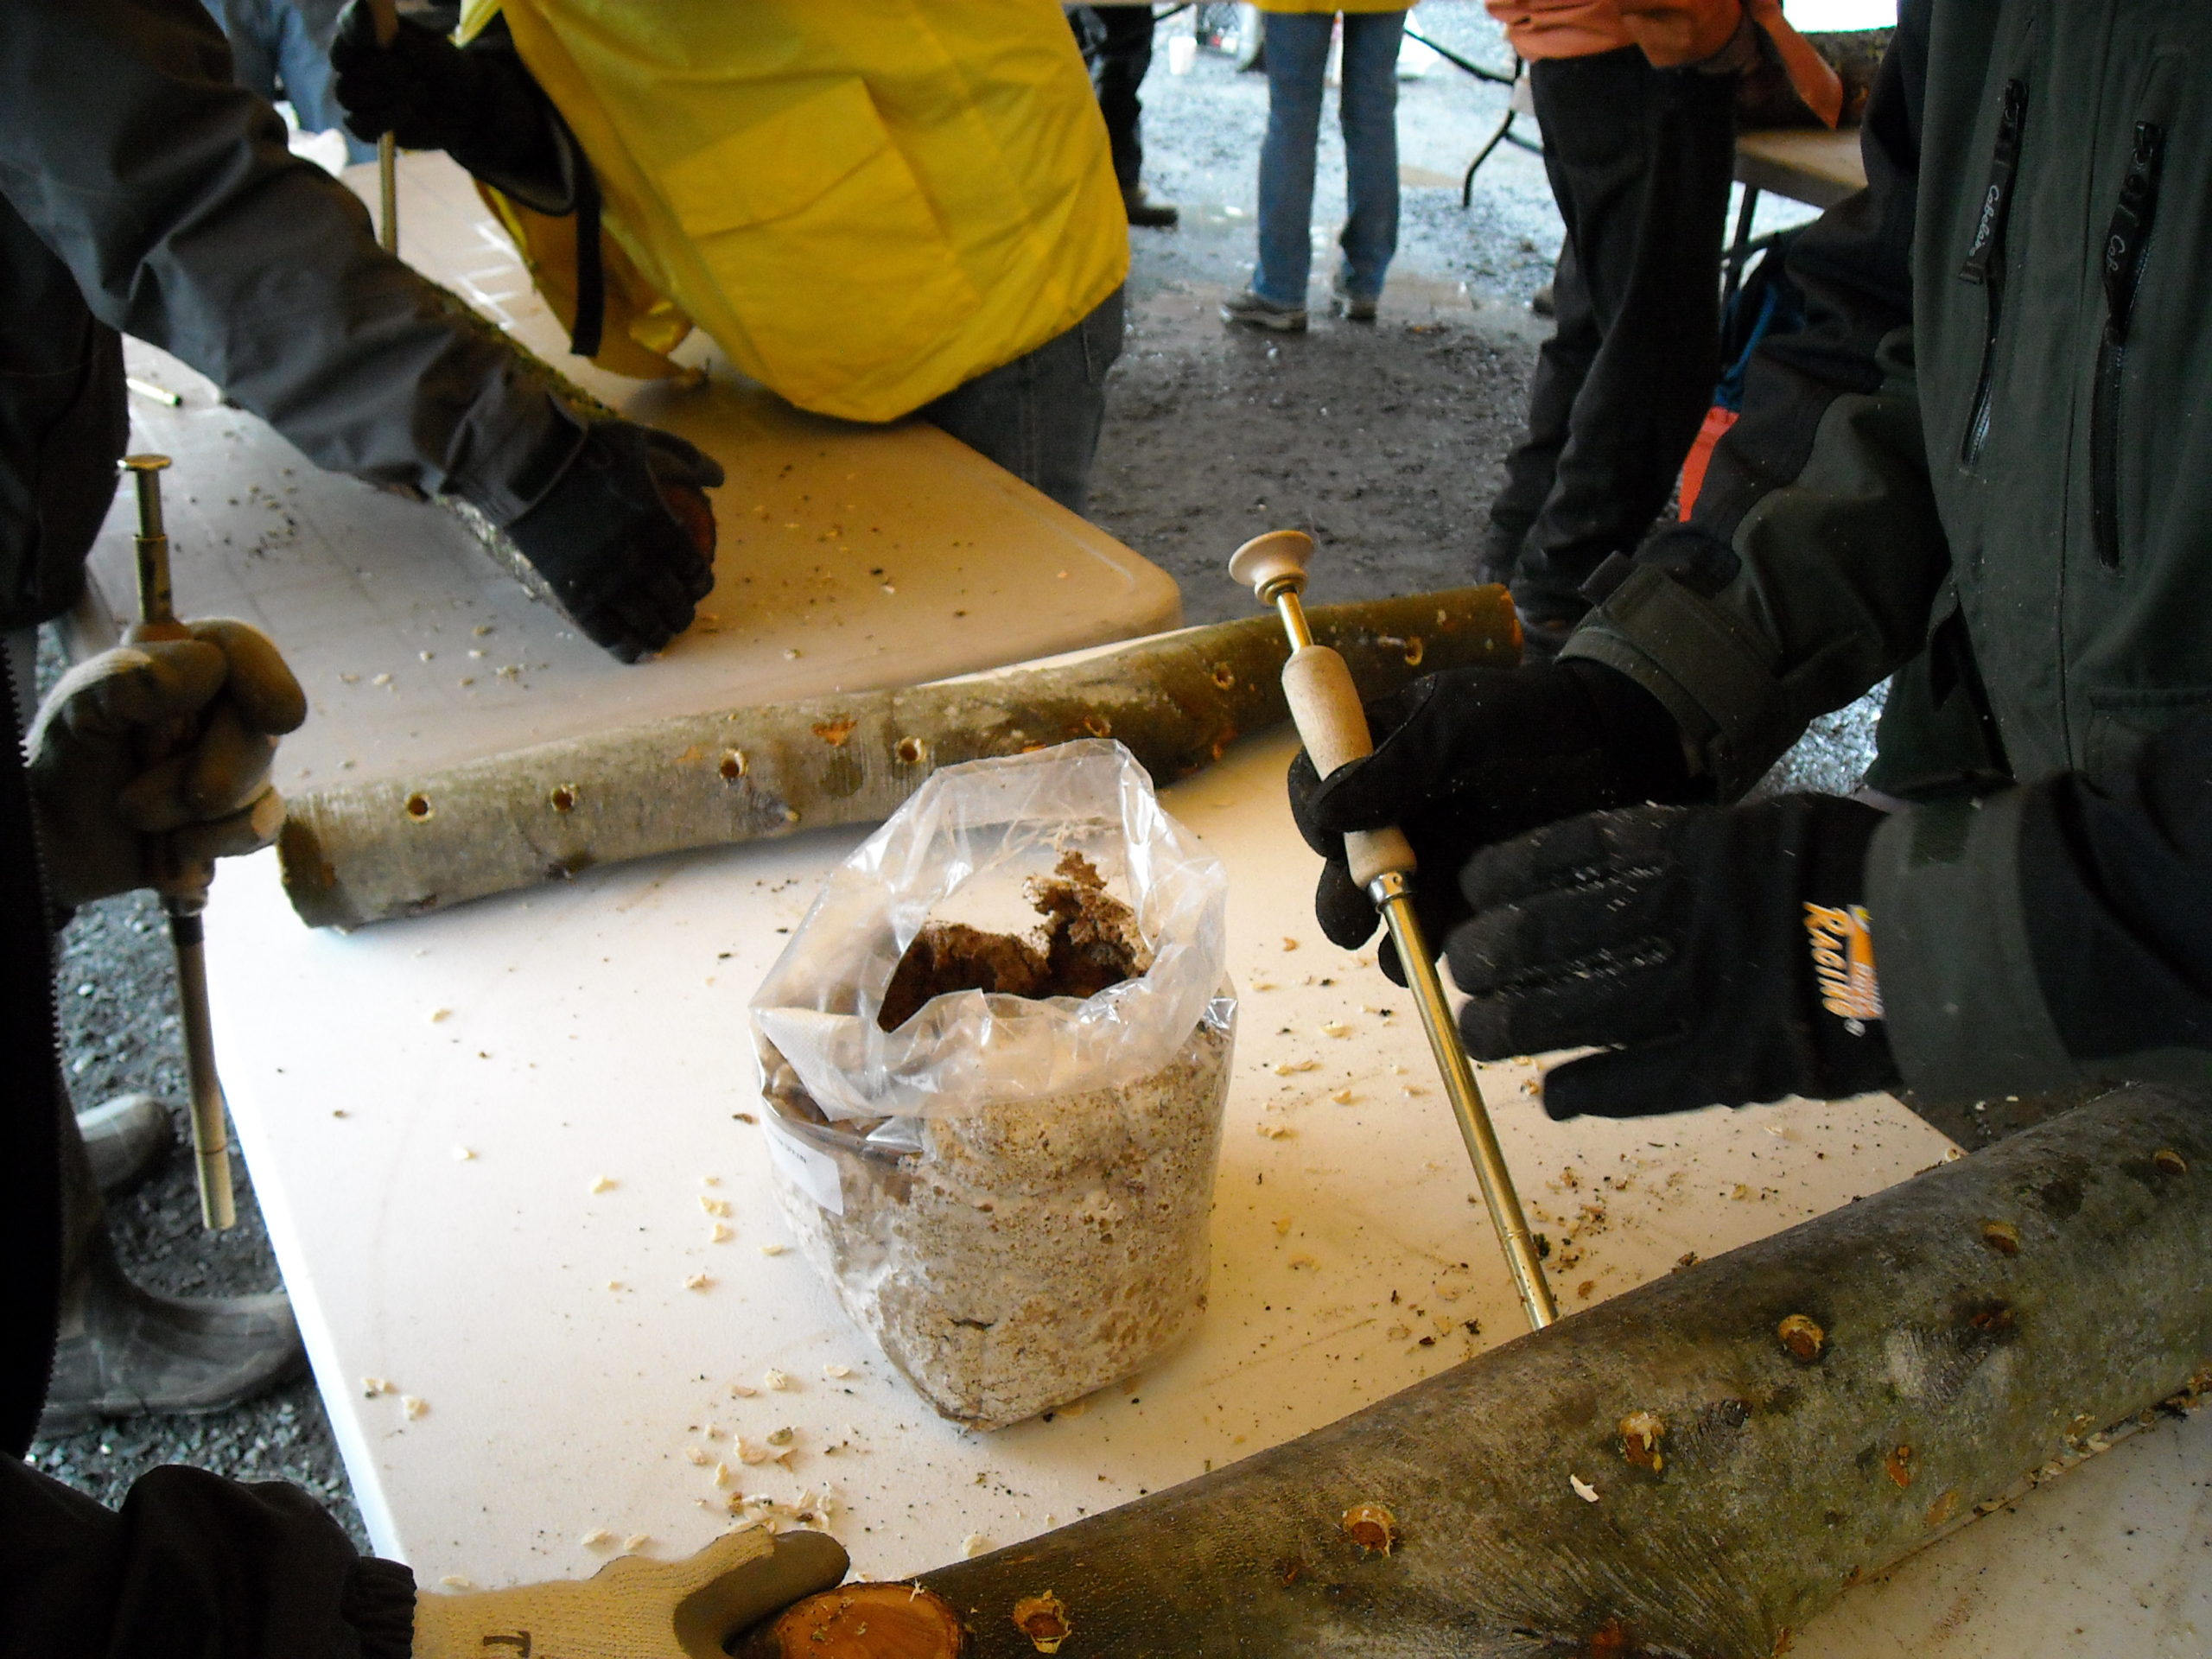
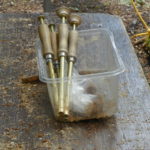
To inoculate the logs with spawn, you will need a tool specifically designed to inject sawdust spawn into the hole, known as an inoculator. After the holes are drilled, place the spawn into the holes, bringing the shiitake mycelium in contact with its new food source (substrate), the log. When using sawdust spawn, take care to avoid handling the spawn as much as possible in order to avoid contaminating the spawn. Stab the inoculation tool into the spawn a couple of times, filling the chamber with sawdust. Then place the inoculator over the hole in the log and eject the spawn into the hole. The spawn should be tightly packed into the hole and rest approximately 1/8 inch below the surface of the log. Packing the spawn in below the surface enables a minimal amount of wax to be used, and allows the wax to adhere effectively to the surface of the plug hole.
EQUIPMENT AND TOOLS: REQUIREMENTS AND RECOMMENDATIONS
Inoculating tools come in two styles: the thumb style is designed to be operated with one hand, leaving the other hand free to hold and turn logs. The palm style requires both hands. when we asked local experts which type they preferred, everyone unanimously preferred the palm style inoculators which is “less stressful from a repetitive motion perspective.”
Inoculation Tool: $27 to $30 each
EXPERT TIP: Wax Safety
“It is worth noting that heated wax has a very low flash point and can be highly flammable in very dry conditions or where there are sparks. Wax needs to be heated hot so it melts and stays melted while applying, but care should be taken not to heat it excessively. Wax should be melted nowhere near where small children play. The wax pot and heat source should be on a solid surface that is independent from the drilling station which rocks and rolls. Melted wax should be monitored at all times and should never be left unattended. Refrain from smoking, operating power tools, welding torches or having any other source of spark near melting or melted wax.”
-Ben Waterman, UVM Extension
EXPERT TIP: Wax Cracking
If logs are inoculated in the spring, the mycelium will likely fully colonize the logs by winter. cracking of wax after logs are fully colonized, most likely won’t affect mushroom yield.
EXPERT TIP: Wax Ingredients
“Cheesewax and paraffin contain petroleum. This should not be construed that the mushrooms will also contain petroleum - I tell people that’s it’s the equivalent of growing an organic tomato in a plastic pot.
“Some cheese waxes are approved for organic production. Buy from suppliers, such as Field & Forest Products, who produce certified organic spawn and have had their wax approved for use in organic mushroom production.”
- Steve and Julie Rockcastle, Green Heron Farm
Step 3: Waxing the Bolt
Waxing the holes helps seal in moisture so that the spawn does not dry out and reduces contamination by competing fungi species. Completely seal each hole using food grade wax. The wax should be very hot (lightly smoking) when applied in order to ensure an airtight, flexible seal. If the wax turns white immediately after it is applied to the log, it is not hot enough. To apply the wax, use a wax applicator to transfer the hot wax onto each hole in the log. Care should be taken to seal the hole. One dip of the applicator should complete a few holes.
Some growers choose to wax the ends of each mushroom log either by dipping the log directly into the pot of melted wax or by painting each end with a paint brush soaked in wax. Other growers skip this step. Some growers wax ends to cover over cracking in the wood only when they see logs starting to dry out. Logs with waxed ends may be slower to absorb water during maintenance or fruiting soaks and thus may require more time to achieve the desired effect. An experiment at Cornell’s Arnot Forest found no difference in mushroom production between end-waxed and non-waxed log ends.
The importance of this step may vary based on climate, which largely governs how crucial it is to strictly manage moisture levels. Waxing the ends will keep moisture in and prevent competitive fungi from gaining a foothold. However, wax is also one of the main production costs and the waxing process adds considerable time to the inoculation process. A cost-benefit analysis of additional wax cost and shiitake yield has not yet been conducted.
EQUIPMENT AND TOOLS: REQUIREMENTS AND RECOMMENDATIONS
Cheese Wax ( $2-$4/pound )
Although you can use any food-grade wax (cheese wax, beeswax, or paraffin wax), each has its advantages and disadvantages. The disadvantage of beeswax is it tends to crack at very low winter temperatures, but the ad-vantage is it is often readily available at low cost. If you use paraffin wax be aware that it may not be acceptable for organic mushroom production.
Stove to Melt Wax
Electric skillets work particularly well to melt the wax, however you have to put a pot on the electric skillet to hold the wax. A skillet alone is too shallow and dangerous. They are sturdy, portable, and the temperature control is easy. You can also heat the wax in a pot over a portable propane or white gas stove. Wax should be heated to 350-400 degrees F (wisps of smoke should be present).
Wax Applicators ($0.15-$1.00)
You can apply the wax in a number of different ways. Foam paint brushes (1”) are very effective. Cotton daubers are cheaper than foam paint brushes. These small cotton balls on the end of a wire handle are available from select mushroom product suppliers.

